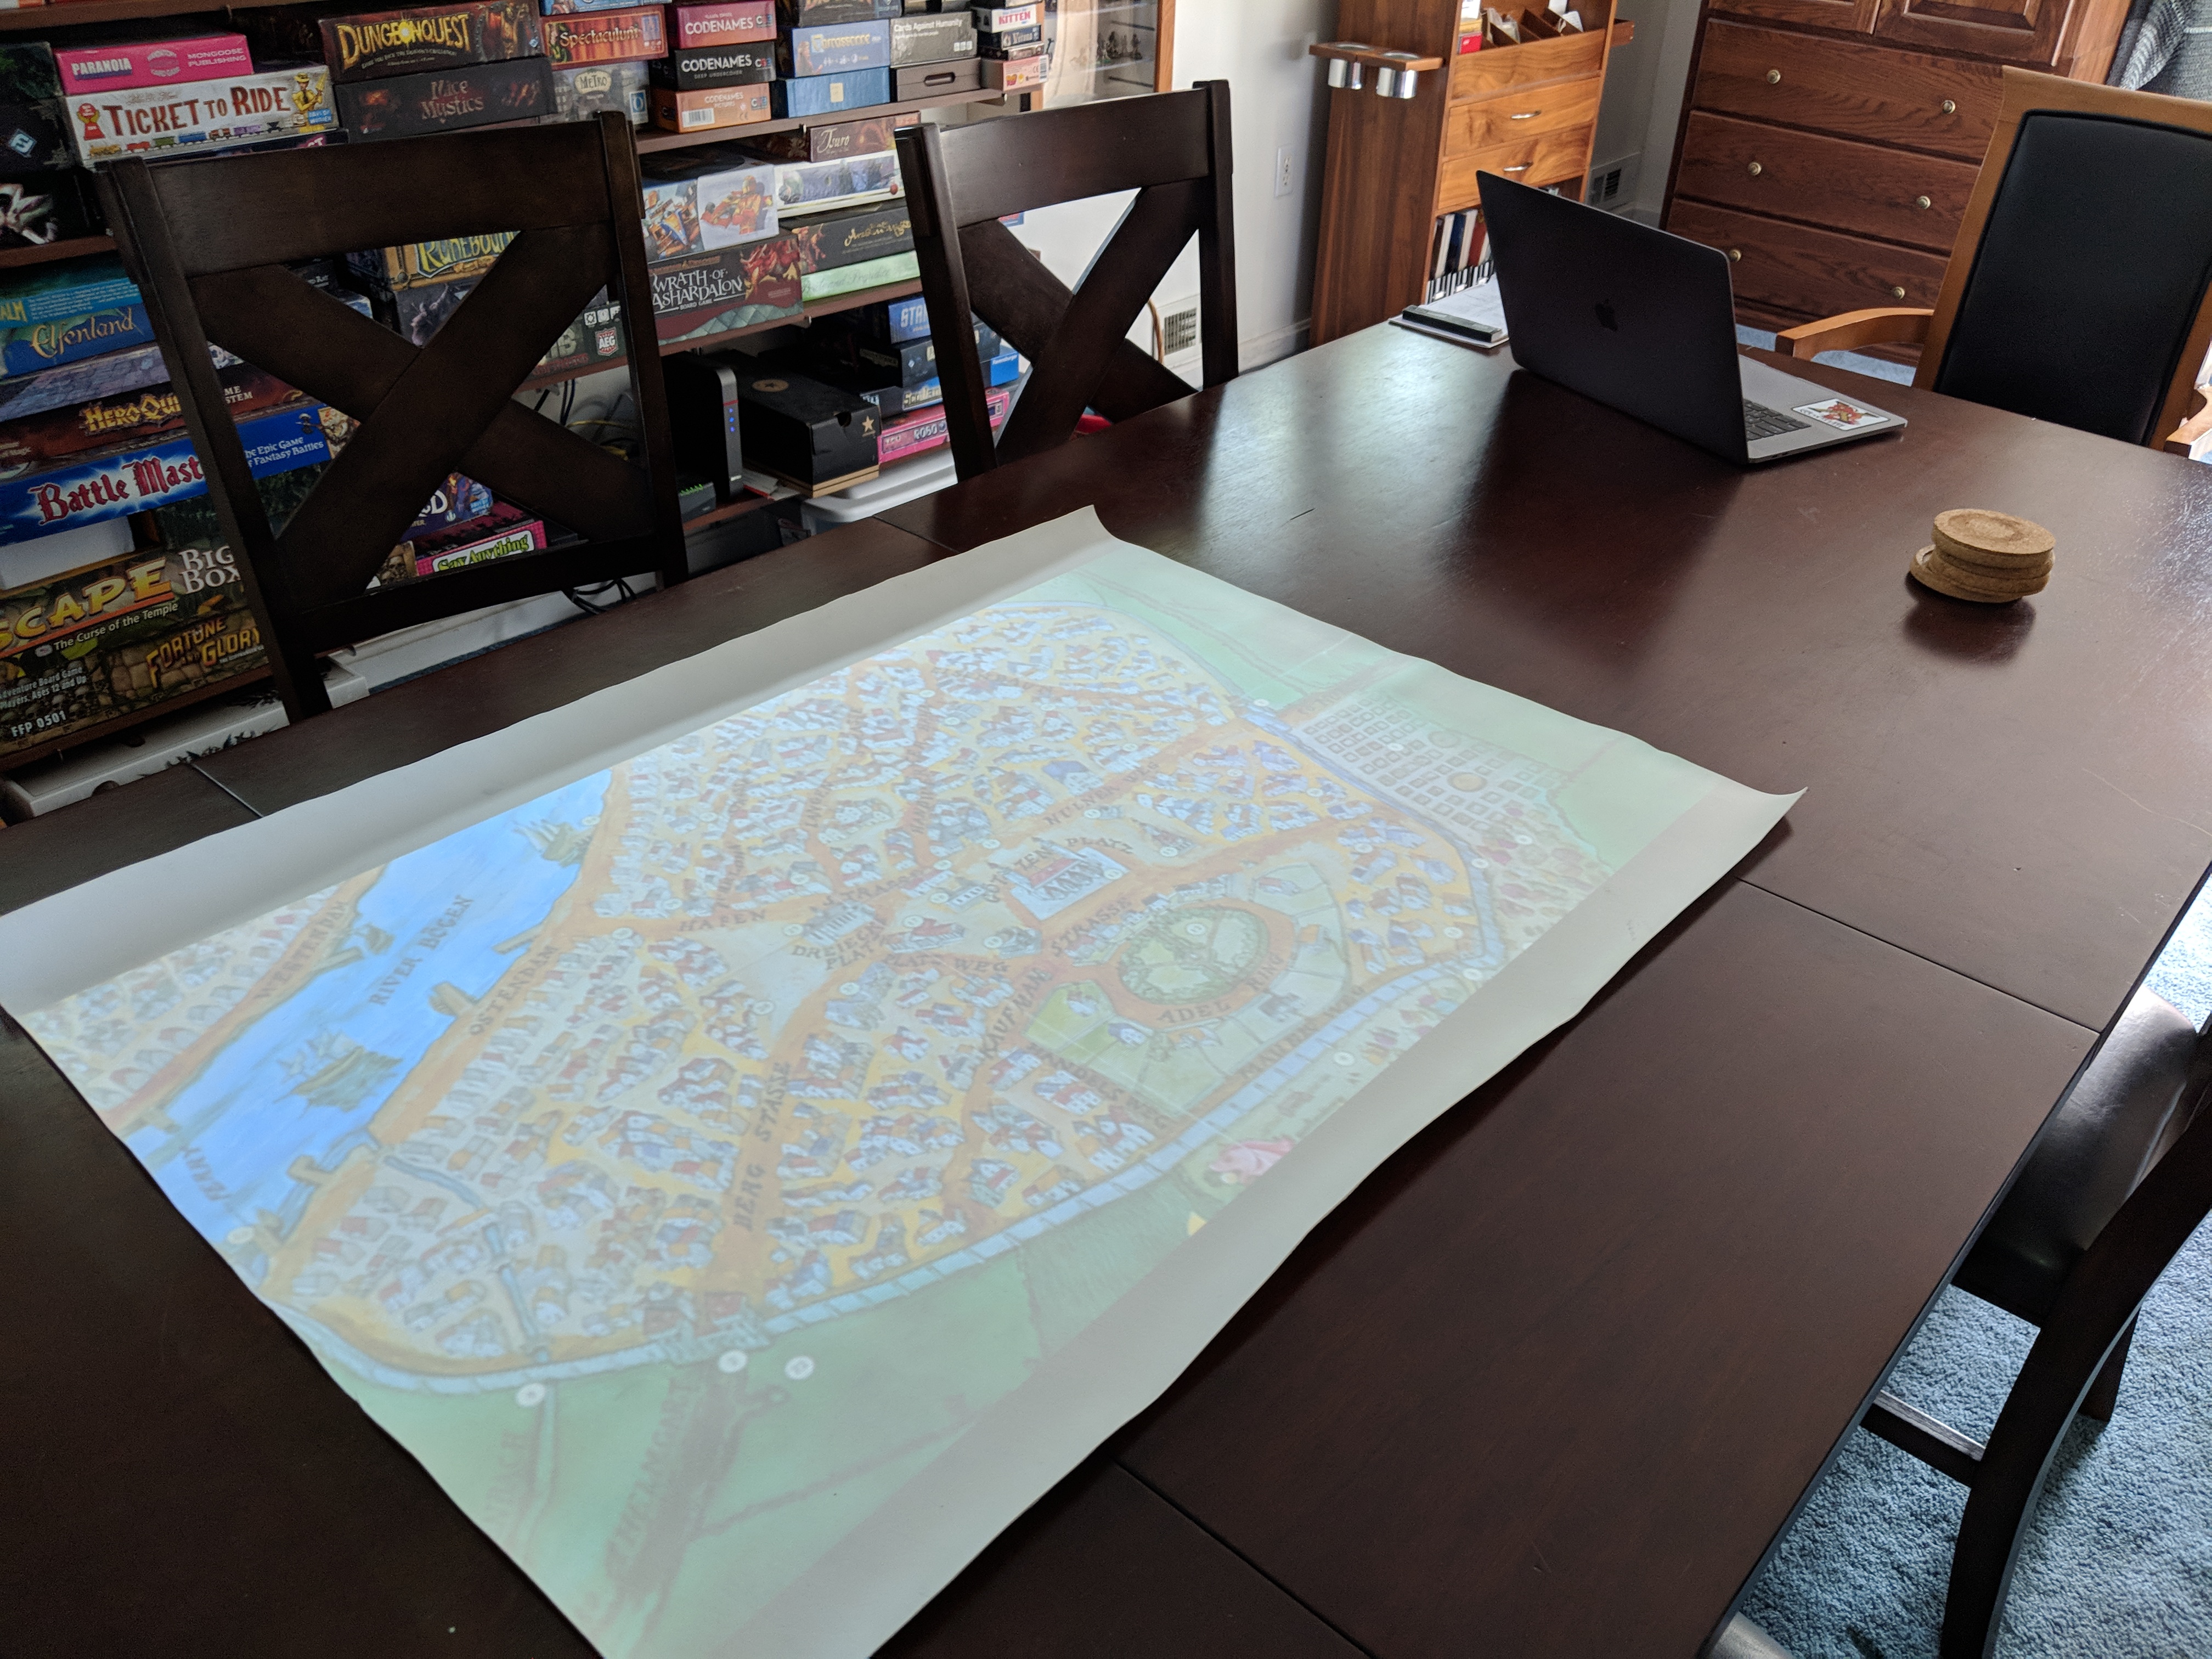
Several months ago I built a little floating shelf above my gaming table to hold a mini projector and mirror so I could project images down onto the surface of the table. I eventually got to use the thing at my birthday and it was a great success. At that time I was projecting black and white maps onto a sheet of white vinyl so we could if necessary draw on it with wet erase markers. It worked really well, and I think helped Dan draw pretty good maps of the areas they explored without us spending a lot of time fussing over ten foot squares.
Well, I’m now contemplating running the Warhammer campaign The Enemy Within, and the PDFs come with some really gorgeous big maps, so I experimented with projecting those. Unfortunately, I discovered that the projector was so high up that the image on the table was a bit pale and fuzzy, and thus difficult to read. I tried just holding the projector another foot or two lower and it looked great, but I was worried that if I moved the shelf that much lower it would really look conspicuous hanging there above the table when we weren’t playing. What I really needed was a shelf that could be raised and lowered as required.
Naturally that idea burrowed into my head and the engineer in me simply couldn’t let it go. I started futzing about with some stuff in the garage and eventually came upon the idea of a central rod connected to four strings that then dangle to connect to the four corners of the shelf. By rotating the rod the string winds about it and thus raises the platform. If I then added another string that is completely un-wound when the platform is wound raised it will self-wind as the platform is lowered, and can then be pulled to unwind itself and thus wind back up the platform. Here’s a video of my early prototype:
Of course I’m omitting the failed experiments that eventually led to the above, but I didn’t want to bore you with all that. Once I had this prototype working I figured I could make the real thing, and since we didn’t have anything planned for this long labor day weekend, I decided to get to work. Here’s some photos of the project as it progressed, with commentary attached to each picture:
Step 2 - Dry Fit
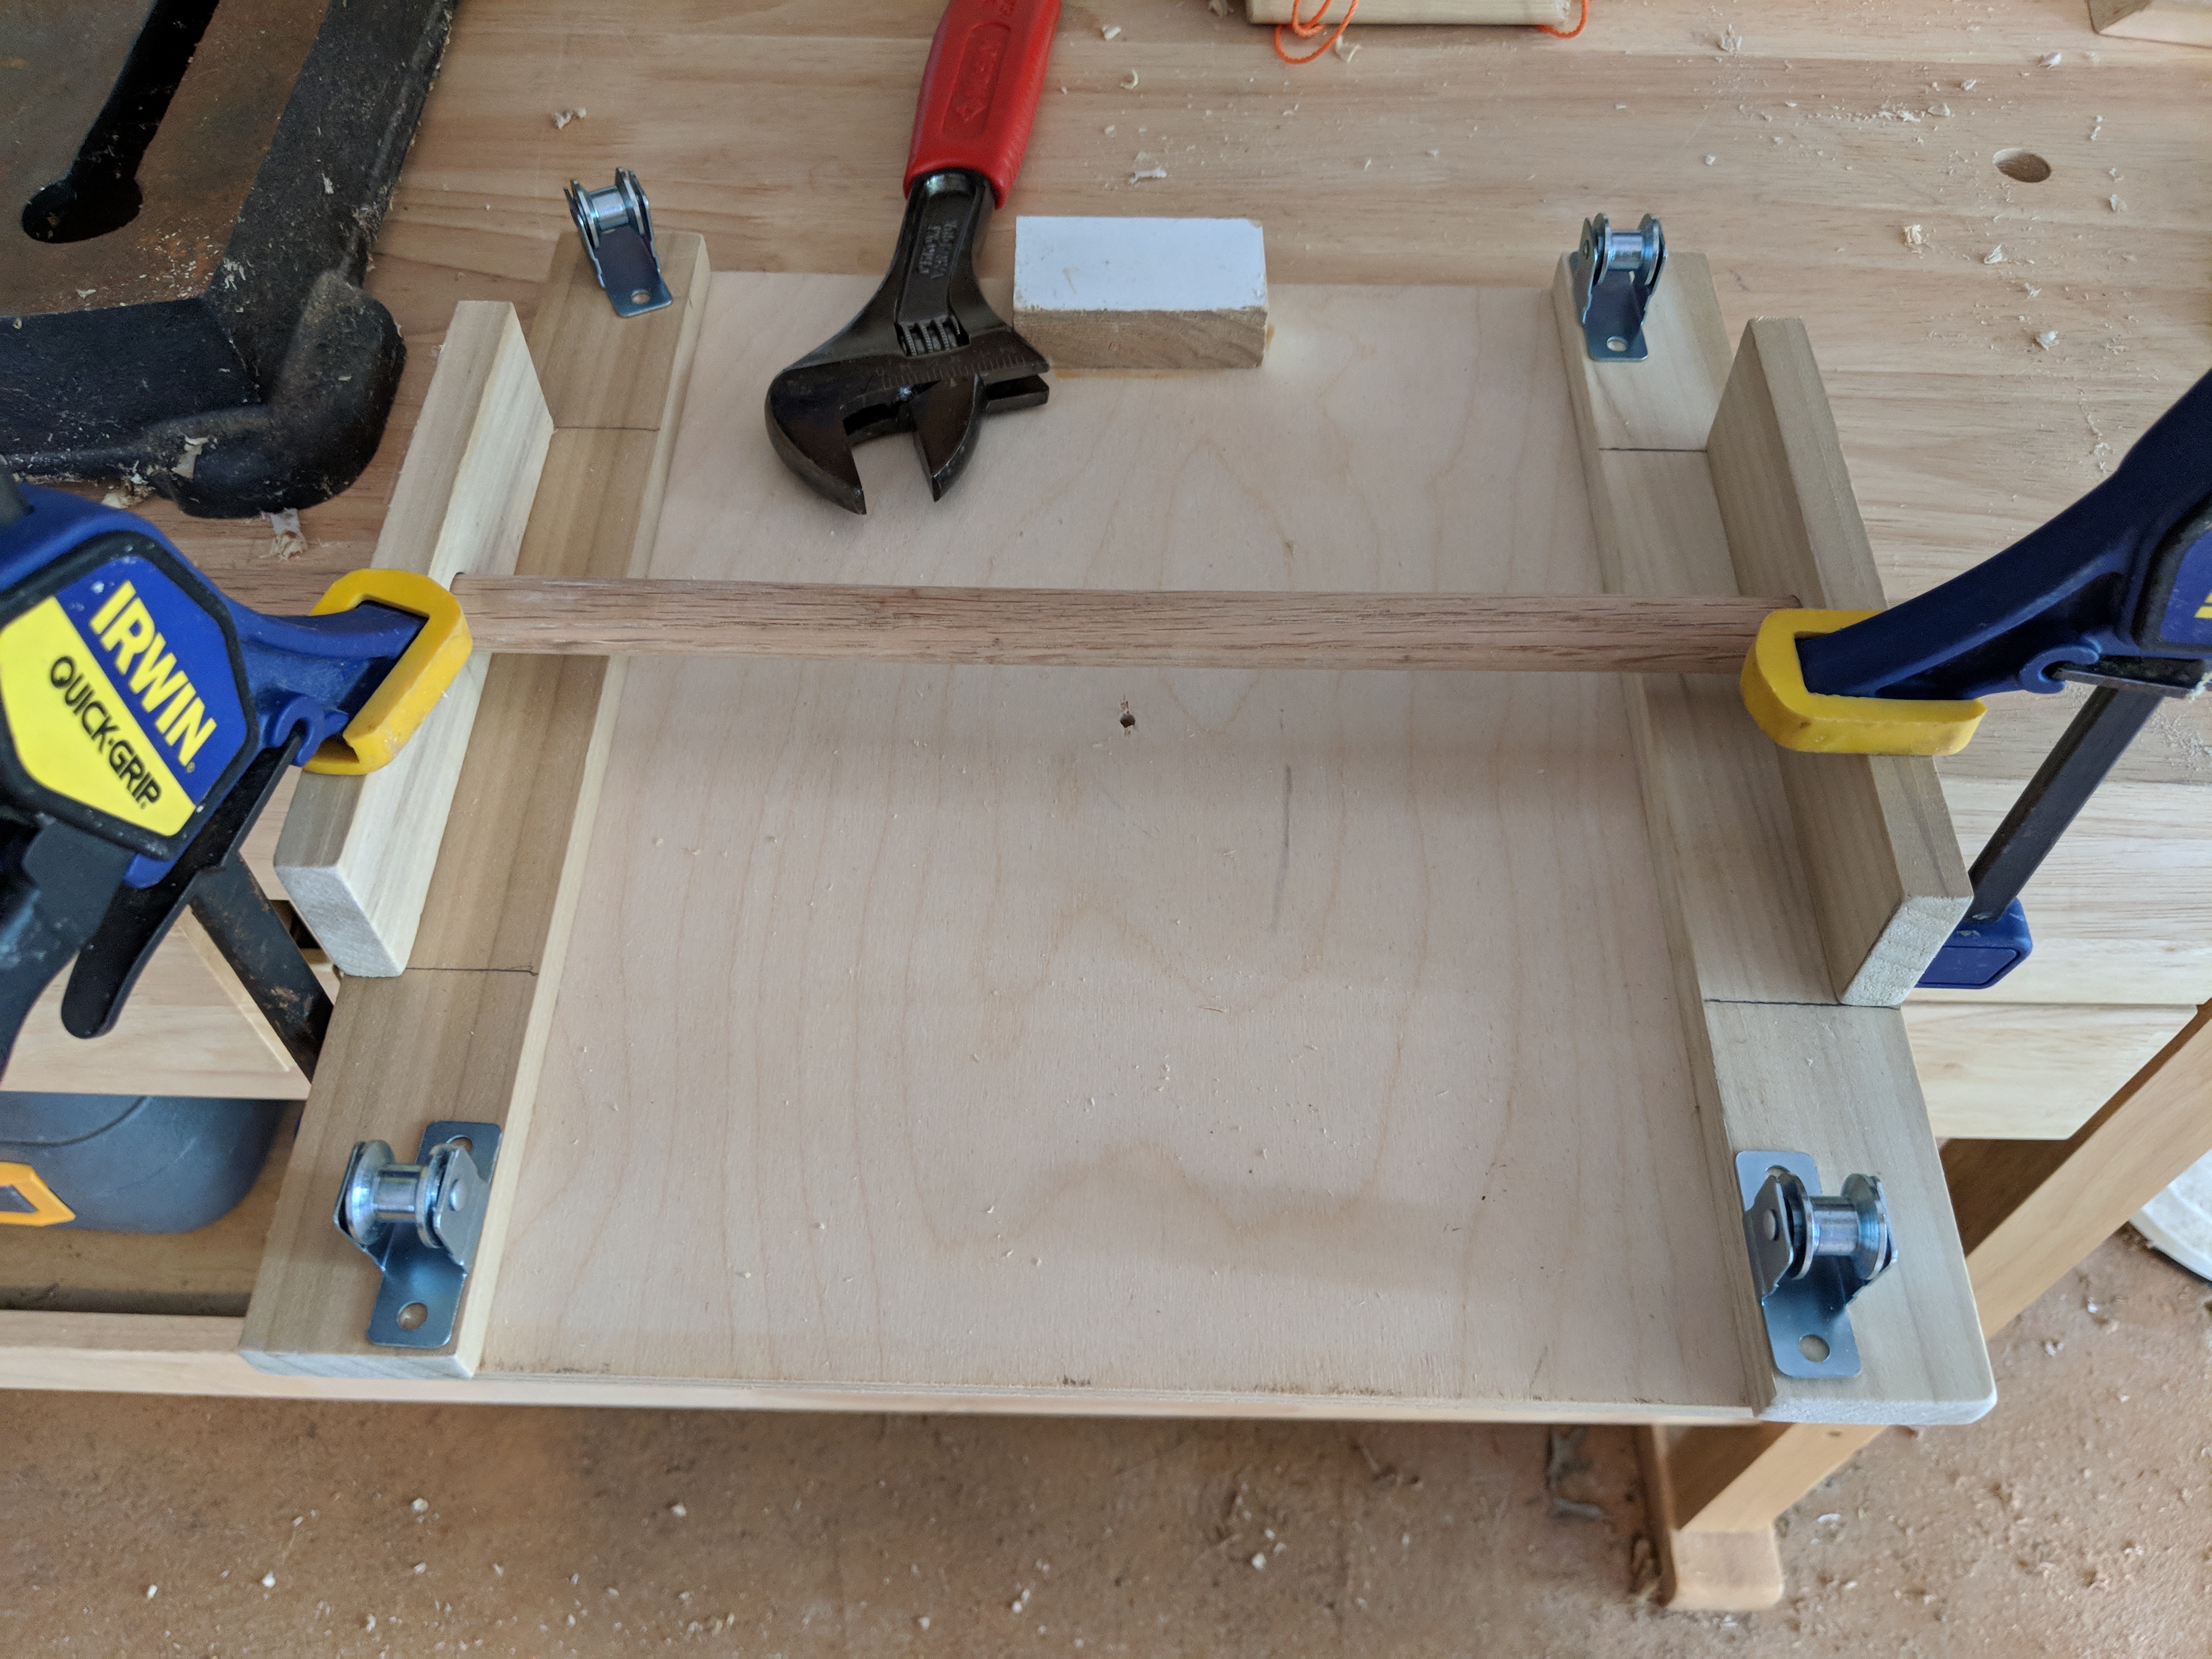
I found these little pulleys on Amazon - I think they're used for curtains - to run the string though instead of screw eyes. I thought they might help reduce the wear on the string. Well, it turns out I the wood of the upper shelf was not thick enough for the screws to hold them in place, so I added a couple strips of wood beneath the axle.
I’m very happy with the final result, though it was a long frustrating afternoon attaching it to the ceiling and working out the kinks. I’m still not totally happy with the issue around the power cord, which you can see me futz with in the above video. The power brick for the projector is heavier than the projector itself, so it must sit on the shelf, but it shifts about as the extension cord gains and loses slack.
But it works, and ultimately it’s not like I imagine I’ll be constantly raising and lowering it – probably just once at the start and once at the end of any gaming session. Honestly, being able to turn the power on and off without standing on a chair is enough to have made this project worth the effort.
All that said, while the map of Bogenhafen you see me projecting above looks reasonably good, the actual print copy come with a poster sized print of it, and I won’t be surprised if we end up using the physical version instead of the projector.


